How to change the color of objects in Photoshop
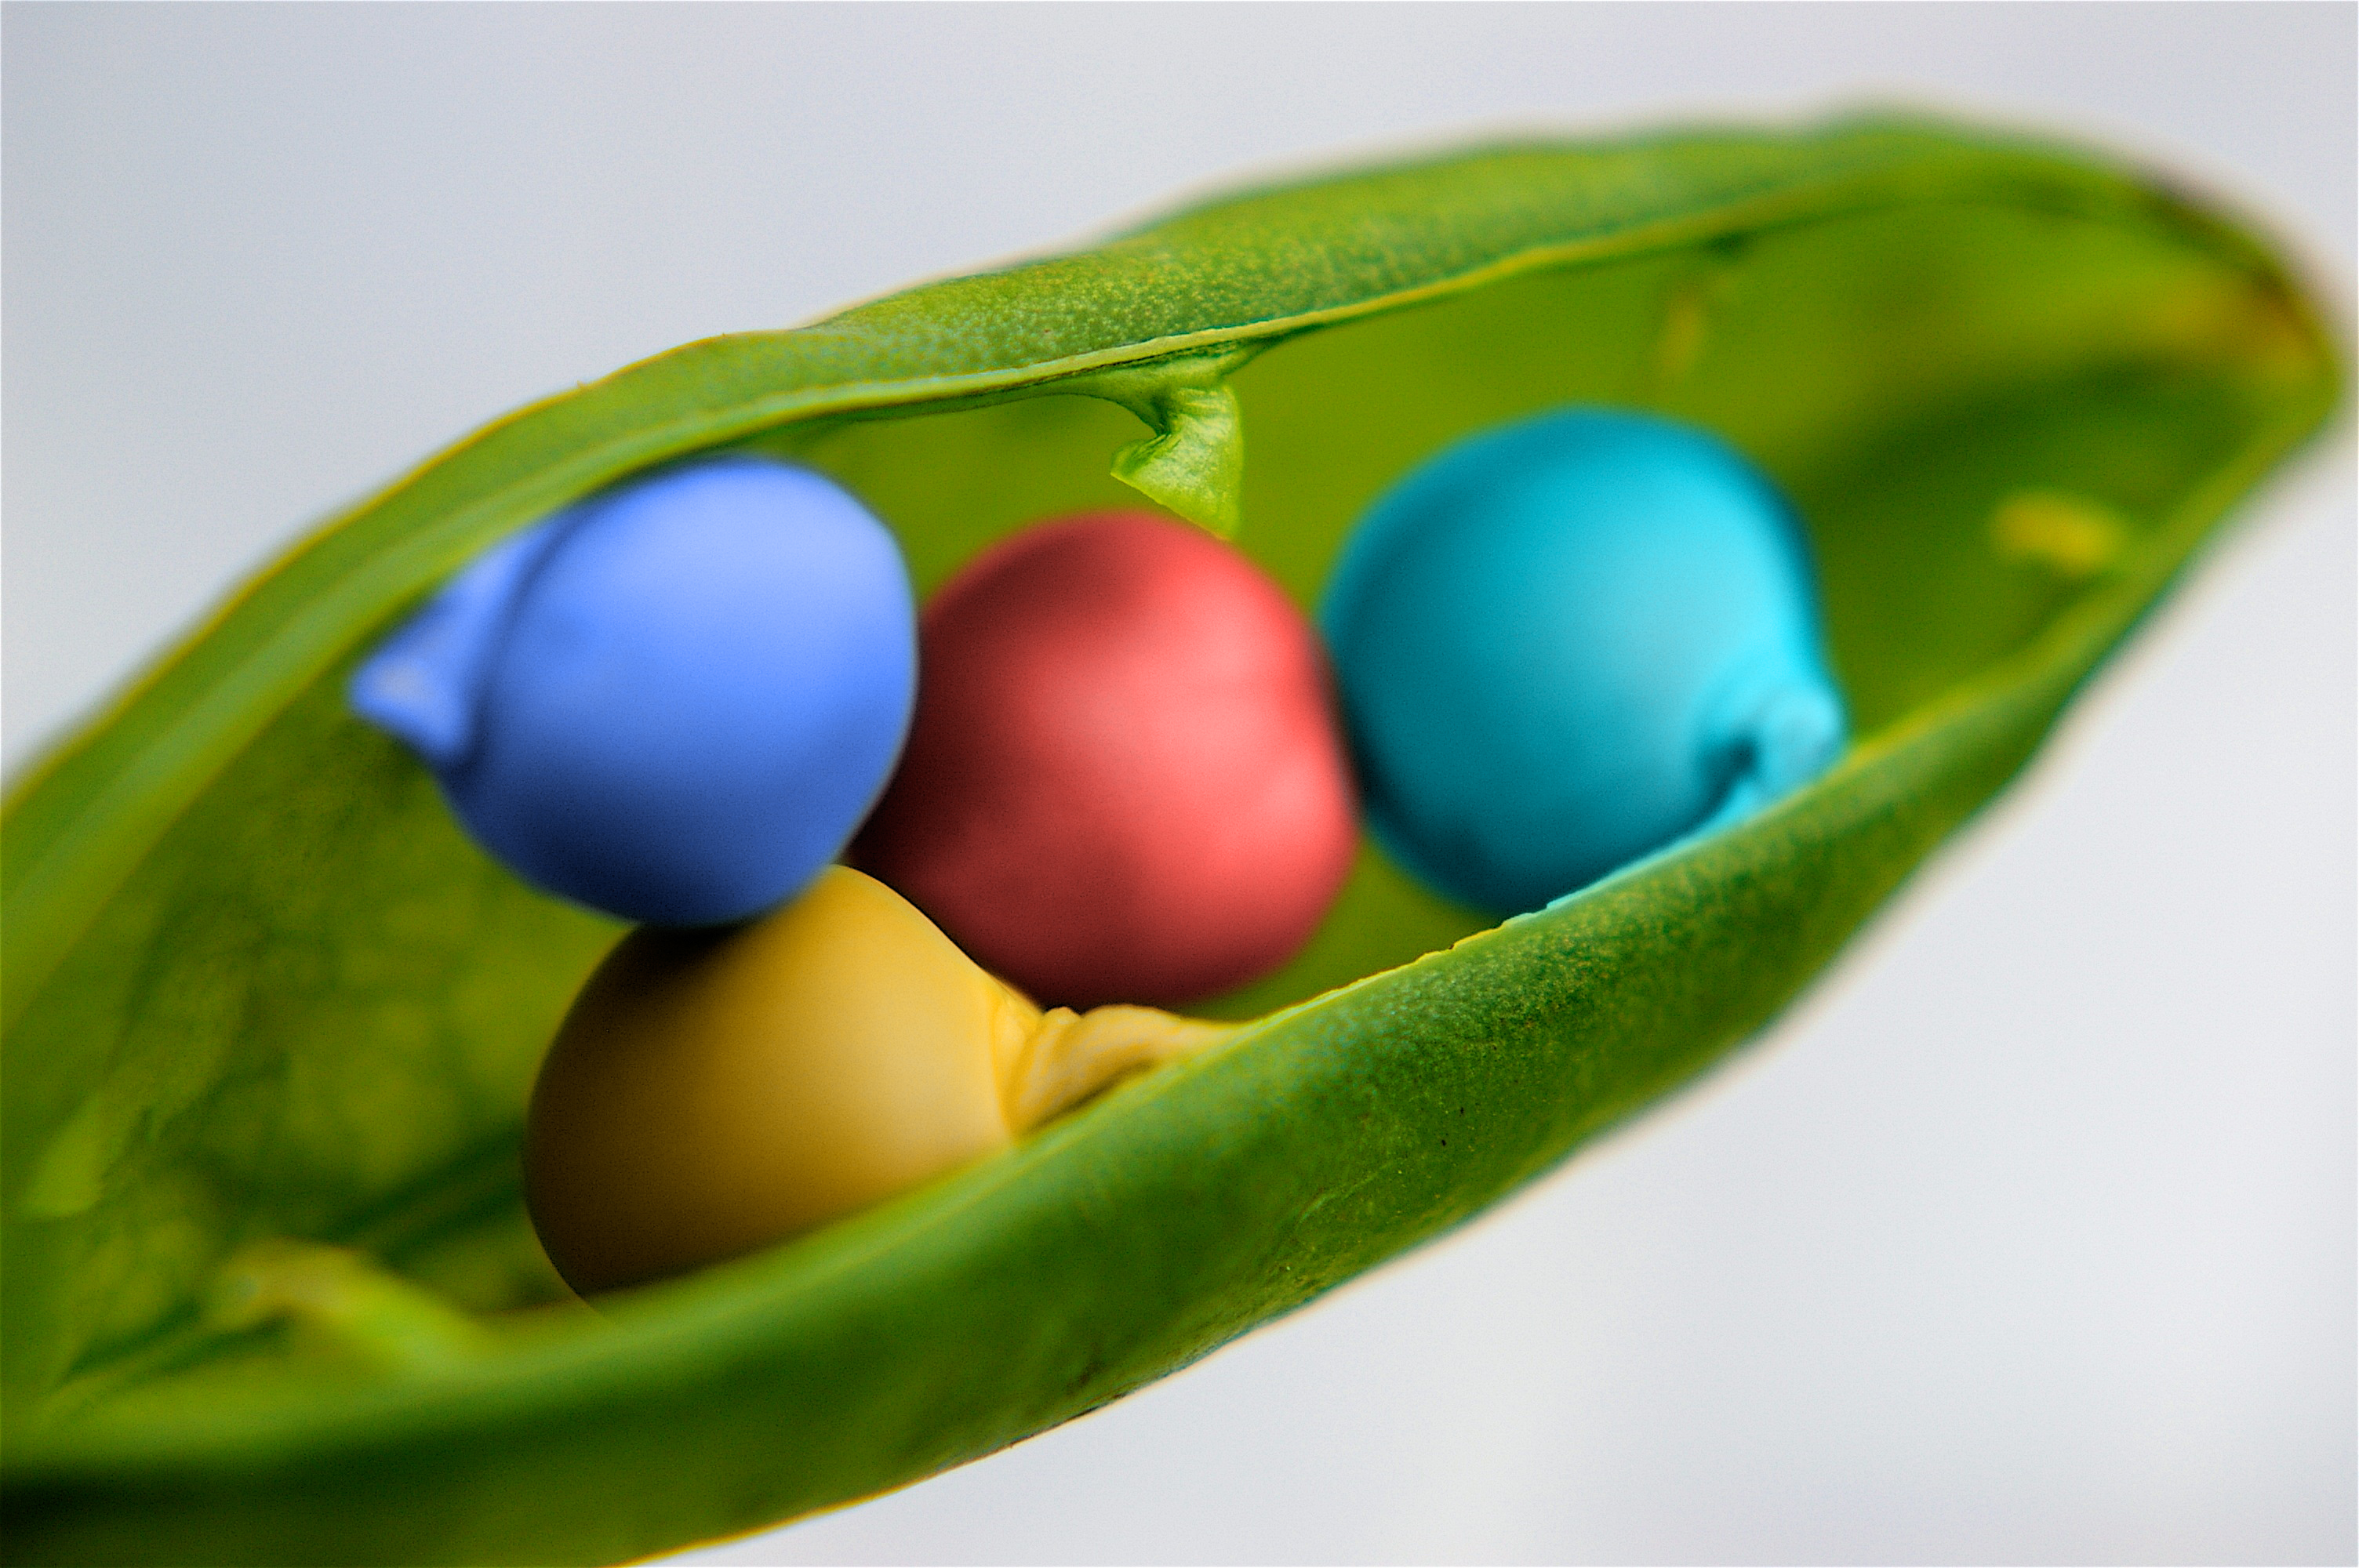
I know very little about editing photos in Photoshop, and am far from being an expert, but I enjoy playing with it and figuring out how to accomplish the alterations that I'm imagining. Earlier this week, I saw this friend's awesome photo of a pea pod and thought it would be cool if the peas were all different colors. So I downloaded the photo and opened it in Photoshop. Showing my ignorance, I went about it the wrong way at first. I started by using the polygonal selector to make a selection around each pea and copy it to a new layer. Then I tried to play with the Levels settings for each pea layer. The results were pretty disgusting, and the borders around the selection were too hard. It looked like I'd physically cut them out with scissors, colored them, and pasted them back on the original image. Yuck.
Finally I figured out how to really do it:
- Use the polygonal selection tool to make a selection around the object you want to color.
- Feather the selection a little bit (I used 6 pixels).
- On a new layer, fill the selection with the color you want (select the color and hit alt-backspace).
- Remove the selection, and apply a Gaussian Blur to the layer. I used a setting of around 8 pixels. This will cause the color to bleed, just a little bit, outside the original selection. If this is a problem skip this step, or add the blur without removing the selection first.
- Set the blend mode on the layer to "Hue". This is the key step.
- Optionally you can modify the opacity of the layer to reduce the effect.
No doubt there are at least 17 other ways to accomplish the same thing, but this is how I did it. And here's the result:
Check out the original here.